
In this blog, you will learn how to use Computer Vision API using Cognitive Service in Xamarin.Forms

Introduction
Xamarin.Forms code runs on multiple platforms - each of which has its own filesystem. This means that reading and writing files are the most easily done tasks using native file APIs on each platform. Alternatively, embedded resources are also a simpler solution to distribute the data files with an app.

Cognitive Services
Infuse your apps, websites, and bots with intelligent algorithms to see, hear, speak, understand and interpret your user needs through natural methods of communication. Transform your business with AI today.
Use AI to solve business problems
- Vision
- Speech
- Knowledge
- Search
- Language
For more information
Prerequisites
- Visual Studio 2017(Windows or Mac)
- Vision API Key
Setting up a Xamarin.Forms Project
Start by creating a new Xamarin.Forms project. You’ll learn more by going through the steps yourself.
Choose the Cross-platform App project under Visual C#-->Cross-platform in the New Project dialog.

Now Select the Blank App and Choose Portable Class Library(PCL).

Subsequently, go to the solution. In there, you get all the files and sources of your project (PCL). Now, select XAML page and double-click to open the MainPage.Xaml page.
You now have a basic Xamarin.Forms app. Click the Play button to try it out.

Get Computer Vision API Key
In this step, get computer vision API key. Go to the following link.
https://azure.microsoft.com/en-in/services/cognitive-services/
Click try Cognitive Services for free.

Now, you can choose Computer Vision under Vision APIs. Afterward, click "Get API Key".

Read the terms, and select your country/region. Afterward, click "Next".

Now, Login using your preferred account.

Now, the API key is activated.you can use now.

The trial key is available only 7 days. if you want permanent key refer to the following article
https://www.c-sharpcorner.com/article/getting-start-with-microsoft-azure-cognitive-services-computer-vision-api/
Setting up the User Interface
Go to MainPage.Xaml and write the following code.

MainPage.xaml
Click the Play button to try it out.

NuGet Packages
Now, add following NuGet Packages.
- Xam.Plugin.Media
- Microsoft.ProjectOxford.Vision
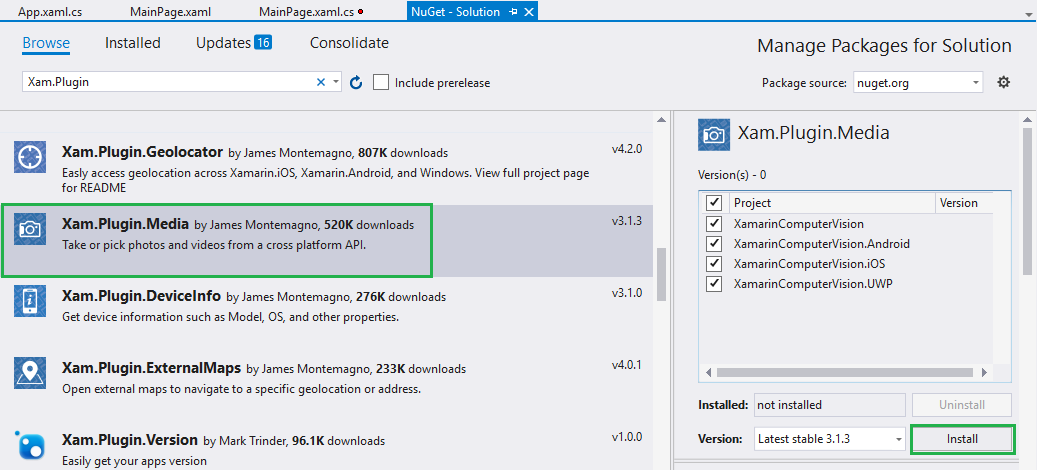
Xam.Plugin.Media
Microsoft.ProjectOxford.Vision

Permissions - for Android
In this step give required permissions to your app. the following permissions must for this app.
- CAMERA
- READ_EXTERNAL_STORAGE
- WRITE_EXTERNAL_STORAGE

AndroidManifest.xml
In this step, create an XML file under Resource-->xml folder for get file paths.
Go to Solution—>Android —>Right click—>New—>Xml—> file_paths.xml

Now, write the following code to get file paths.

file_paths.xml
Analyze Image
Now, write the following code to analyze image using vision API Cognitive Service.

MainPage.xaml.cs
Pick Image
Now, write the following code to pick an image from your device.

MainPage.xaml.cs

Take Image
Now, write the following code to Take the image using the camera.

MainPage.xaml.cs

Full Code - MainPage.Xaml.cs
MainPage.Xaml.cs
Click the Play button to try it out.

I hope you have understood how to use Computer Vision API using Cognitive Service in Xamarin.Forms.
Thanks for reading. Please share comments and feedback.

Thanks for sharing this informative content , Great work
ReplyDeleteLeanpitch provides online training inScrum Master during this lockdown period everyone can use it wisely.
Advanced Scrum Master Training